

x
Overview
If you have started working with The Milky Way, and want to really reap the benefits of what the map can do for your enterprise, you now have a great tool that can help you work with storytelling via turning on and off layers as well as exporting your data, and really start to accelerate change.
The benefit of using Miro to create your map is that you have a real collaborative white board that anyone can access, which democratizes the architecture and understanding of your enterprise. With this toolkit, you can now continue the work beyond mapping - by exporting your map data, organizing it, analyzing it, you can plan and execute your change initiatives.
Get the template. Make your map.
If you haven’t created your map in Miro yet, the first thing you need to do is to get the template for creating your Milky Way Map here: LINK
Please note: It is very important that you copy the elements from the legend of your Milky Way map template for business capabilities, IT-applications (system use points) and information flow lines. This way, the Milky Way tool will be able to distinguish what is in the map itself and what are overlays.
In Miroverse you also have a board you can copy that takes you through the map creation process step by step. More information about the Milky Way method is also found in the Milky Way book. [link]
Next Level.
Once you have created your first version of your Milky Way map, you now want to be able to use it for storytelling, e.g. by doing analysis in the form of overlays on top of the map, and toggling on and off the elements in the map. This is where the Milky Way toolkit makes life so much easier.
How to install
INSTALL INSTRUCTIONS... which do we want to explain here..?
- from link,
- secondary install?
--- Do we want this to serve the attendees of the course on 13th?
Once you have installed the app in Miro, you find it in your left toolbar by clicking the three dots at the bottom to enter the app library. For easier access, drag the Milky Way app into the left toolbar.
Move the app icon from the tool library ( " . . . " ) to the toolbar.
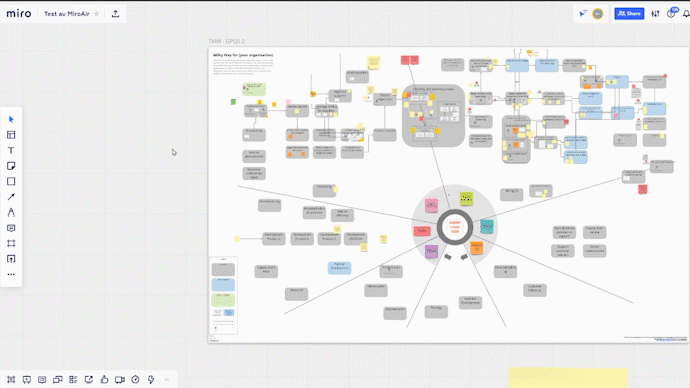
Set the Milky Way Map Frame
The Milky Way app allows you to work on several maps in a single Miro board. But you only work on one at a time. You must select the Milky Way map frame that you want to work on and hit the top blue button in the app: "Set Frame".

Elements: hide / show
You can now choose to toggle on and off different elements in the map itself (business capabilities, system use points and Information lines). If you have many elements in your map, this may take a few seconds to load. This makes it easy to view the map for different purposes.

Layers: save / hide / show / select
You can now choose to toggle on and off different elements in the map itself (business capabilities, system use points and Information lines). If you have many elements in your map, this may take a few seconds to load. This makes it easy to view the map for different purposes.
You can now choose to:
-
hide and view the layers by clicking the eye symbol
-
select the items on the board in your layer by clicking on the name of that layers.
-
delete a layer by clicking the X. If you delete the layer, you do not delete the items on the board in that layer - you just delete the existence of the layer... its name disappears from the list.

Layers can include overlay items as well as Milky Way map elements. You can use any combination you like in your layers. Some unique uses of layers include: higher and lower levels of detail, all of one Miro board item type (i.e. all the text, or images), portions of the board (i.e. the left or right half. ), sets of items related to an application, project, department or other domain.

Many Maps On One Miro Board.
Once you have selected a frame, the app will remember this frame when you close the app and reopen it the next time. If you want to change the frame you work in, just select another frame and then press “Set frame”. You have now linked the app to another frame.
